
Affiliate Disclosure: As an Amazon Associate, we earn from qualifying purchases.
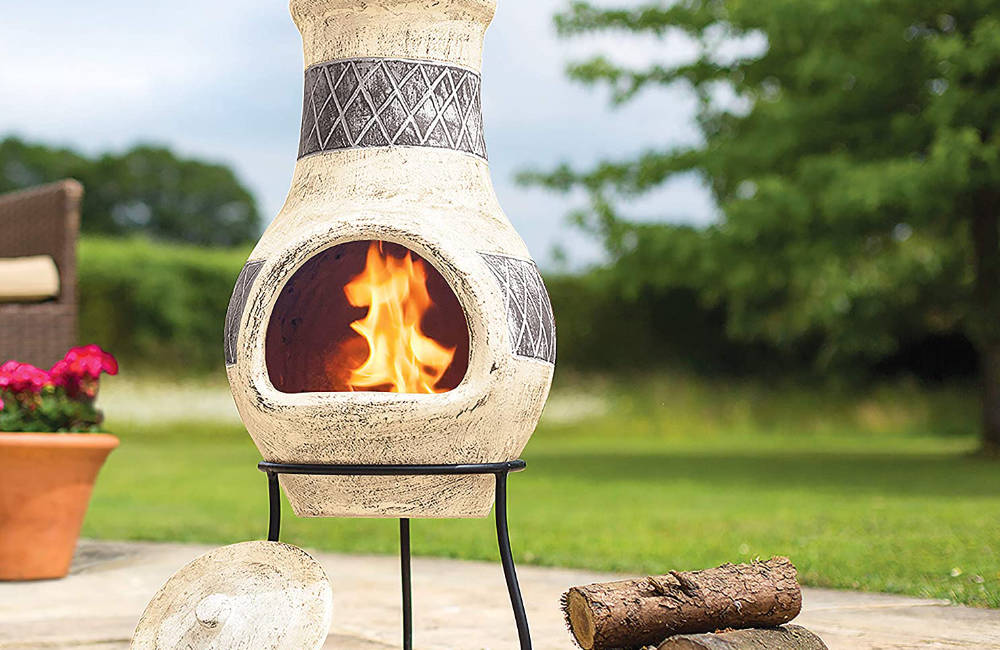
Clay chimineas are attractive outdoor heaters that have a chimney and potbelly-shaped base. This type of patio heater is popular since the clay material suits a wide range of gardens and provides a greater aesthetic appeal. However, chimineas made with clay are prone to damage, especially cracking and breakage.
But do you know how to repair a clay chiminea?
What Sort of Damage Can Happen to Clay Chimineas?
The main sort of damage that can happen to a clay chiminea is cracking or breaking. Because these types of chiminea are made from clay, they don’t rust but can easily break into pieces if they are not handled in the correct way.
How Do Clay Chimineas Get Damaged?
There are several factors that can cause clay chimineas to break or crack. These include dropping, age, excess heat, and too much moisture.
The main cause of damage to clay chimineas comes from being dropped or bumped. However, prolonged use is also another factor that can damage a chiminea.
Chimineas have a lifespan. So, whether you are a beginner or an avid user, you have to prepare yourself to buy a new chiminea after a certain period of time. Depending on the management and frequency of use, your chiminea can last for well in excess of 5 years.
It’s also worth noting that lighting large fires that are extremely hot or too big for a clay chimenea, unfortunately, lead to the formation of cracks and eventually breakages.
Lastly, moisture is also a great contributing factor to the formation of cracks. Leaving your chiminea outside, especially during winter or during rain. Clay is a porous material and the accumulation of moisture in its pore will cause water to contract and expand, forcing the clay to change its shape.
What Do You Need to Repair a Cracked Clay Chiminea?
Before you can fix your cracked clay chiminea you need to make sure you have all the tools and equipment to carry out the job. The most obvious thing you’ll need to start is your very own cracked chiminea!
You’ll also need some form of adhesive. Now we’ve seen various articles detailing that you should use car putty, fire cement, and a variety of different adhesives so we thought we’d contact a couple of reputable suppliers to see what they’d recommend.
Now if you’re planning to use fire cement you may wish to think again. Everbuild who make a variety of popular fire cement stated that although their fire cement was heatproof it should not be exposed to permanent flames.
Another company stated fire cement can break down easily if exposed to water. Now we’d always recommend keeping your clay chiminea undercover but it could become a problem if you accidentally left it out in the rain.
Vitcas also stated fire cement would be a problem if exposed to rain but stated that their outdoor oven cement would be the perfect choice as it works well with clay and can be used in an outdoor environment.
Vitcas outdoor oven cement is rated to 1200°C and doesn’t need heat to dry so according to the experts at Vitcas is an excellent choice.
Below we’ve put together a hand shopping list of things you’ll need. Simply click on each of the links to buy the supplies you need.
- Medium-coarse sandpaper
- Gloves (to protect your hands)
- Outdoor oven cement
- Spatula or pointing trowel to apply cement
- Paint and sealer
How to Repair a Cracked Clay Chimenea?
Repairing a clay chimenea is a straightforward process that requires:
- 1 Sanding
- 2 The application of outdoor oven cement
- 3 Drying
- 4 Final sanding
- 5 Painting
Step 1: Sanding
To attain a smooth surface, sand the cracked chiminea area using medium-grit sandpaper. When sanding, apply light pressure to ensure the length of the cracked area doesn’t spread further. Do this until the broken surface area is smooth. It’s important that you take time to do sanding since you have to remove all the paint found in the cracked area.
Step 2: Application of the Outdoor Oven Cement
This is the most critical stage since it’s what determines if you will effectively fix the chiminea. To successfully carry out the repair, apply the outdoor oven cement to the cracked part of the chiminea with a spatula or pointing trowel.
The amount has to be sufficient to seal the cracked area. You can apply a slightly thicker layer of the cement until it forms a small mound. If there are broken sections, use a clamp to fix the pieces together in order to form a solid section.
Remember that you have to clamp the broken pieces together before you apply the outdoor oven cement.
Step 3: Drying
The outdoor oven cement should be left to dry for at least 24 hours in a dry and warm location if possible.
For instance, leave the chiminea in a well-ventilated room and protect it against the elements of weather.
Step 4: Final Sanding
After the outdoor oven cement has dried, you need to refine the clay chiminea’s surface by sanding it again. You should use medium-grit sandpaper until the cement layer is at the same surface level as that of the chimenea.
Step 5: Painting
Go ahead and paint the chimenea using the standard painting procedure. First, apply the paint then finish it off with lacquer for the top layer. You can find out more in our how to paint a chiminea article.
Clay Chiminea Care
Now that you know a clay chiminea can break or crack, it’s important to implement some effective care and management techniques to ensure your chiminea will last as long as possible.
Some of the most effective care methods include:
Add Sand to the Bottom of the Chiminea
To build a good source of fire, you need to moderately fill the chiminea’s bed with sand.
This will prevent the base of the fire from coming into contact with the clay. Besides that, do not move the chiminea around while the sand is in place since you risk damaging it.
Season Your Chiminea with Small Fires
When starting fires, always use small pieces of wood to season this product. Carefully place the wood on top of the sand before you add larger and more pieces of wood to light a larger fire. Note that you should avoid using accelerants and firelighters to keep your fire going as this will eventually result in permanent damage.
Let the Fire Die by Itself
Do you want to put out the fire? Then you shouldn’t use a coolant such as water. Remember that this is clay and clay can easily crack with sudden changes in temperature.
Adding cold water to a hot fire will often cause a clay chiminea to break.
Store Your Chimenea is Secure Place
Don’t leave your chiminea outside and be exposed to elements of weather such as frost and rain. If you must leave it outside, then you must cover it. Otherwise, you should it in a dry room.
Regularly Repaint It
To maintain the aesthetic appeal of this item and prolong its lifespan, repaint the parts that are worn out.
The Bottom Line
Clay chimineas are a popular type of outdoor patio heater. But while these items are safe to use, they require more maintenance and can easily break or crack if not used effectively or handled with care.
However, it is often possible for you to fix your chiminea at home. Simply ensure that you have the right materials listed above and take your time. Do not rush making a repair as you will often find you’ll make mistakes.
For lasting use, always handle your chiminea with care. Apply the necessary maintenance techniques and avoiding lighting larger fires as this will increase the chances of damage.